


Amber lights are a great addition to any vehicle, providing enhanced visibility in low light and hazardous conditions. Installing amber lights on your vehicle is a relatively simple process that can be done with the right tools and equipment. In this blog post, we will provide a step-by-step guide on how to install the best amber light bar for your vehicle. Let’s get started!

How to Install Amber Lights On Your Vehicle
Before we begin with the step-by-step process, let’s discuss the tools and equipment required. It is important to test the light first if they work before proceeding with the installation.
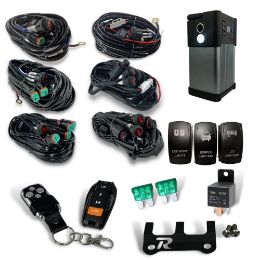
The Required Equipment and Tools
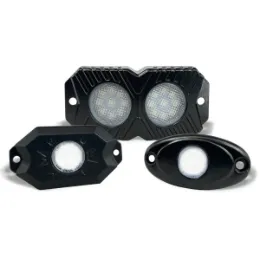
- Amber light bar
- Mounting brackets
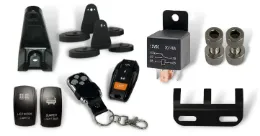
- Wiring harness
- Screwdriver
- Drill and drill bits
- Zip ties
- Marker
- Wrench
The Step-by-Step Installation Process
To install Amber lights, you will need to follow these steps:
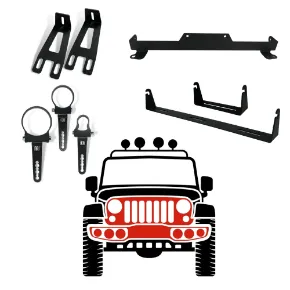
Step 1: Choose The Location For Your Amber Light Bar
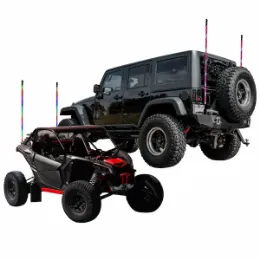
The first step is to choose the location for your amber light bar. This will depend on the type of vehicle you have and the intended use of the amber lights. Common locations for amber light bars is to have them as ditch lights, or mounted on the roof of the vehicle or the front grille.
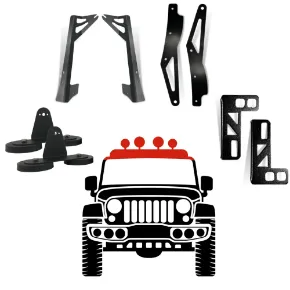
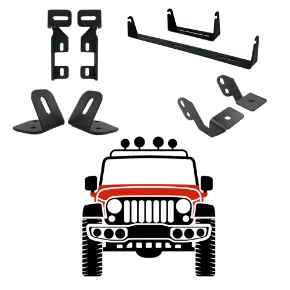
Step 2: Install The Mounting Brackets
Install the mounting bracket onto the LED light bar after deciding where to place your amber light bar. Put the light bar there and mark the spot where you need to drill. Make mounting holes with a drill and drill bits, then fasten the brackets with the mounting hardware that comes with the bar.
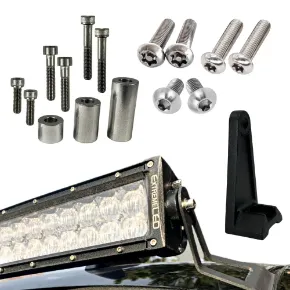
Step 3: Install The Wiring Harness
To install the wiring harness for the amber light bar, connect the harness to the positive and negative battery posts. If you have a relay holder, install it by using factory holes or drilling spots for rivets. Then, run the wiring through the vehicle to where the light bar is mounted (on the roof line, grille, or hood). Next, run the switch wire from the battery to the inside of the car. You can do this by finding the firewall inside the engine and using a flathead screwdriver to open up a gap between the frame of the car and the rubber gasket. Feed the switch wire through this gap.
Our harnesses come with quick disconnects on the switches to make this process easier. Finally, use zip ties to secure the wiring to prevent tangling or damage.
Step 4: Connect The Rocker Switch
If you have a rocker switch, connect the switch to replace the factory-installed switch. Mount it in a location that is easy to reach. This will allow you to turn the amber lights on and off as needed.
Tips for Proper Installation
Here are some tips to ensure that your installation of amber lights is proper and effective:
- Choose the right location for your amber light bar based on your needs and the intended use of the lights.
- Make sure to install the mounting brackets securely to prevent the amber light bar from coming loose or falling off.
- Check the wiring and connections regularly to ensure that everything is working properly and there are no loose or damaged wires.
Why Choose Extreme LED Light Bars?
Extreme LED Light Bars are the best in class when it comes to value for money and quality of amber light bars. Here are some of the reasons why:
• Quality and Durability: Our amber lights are built to last. They are made of high-quality materials and designed to withstand harsh weather conditions and rough terrain.
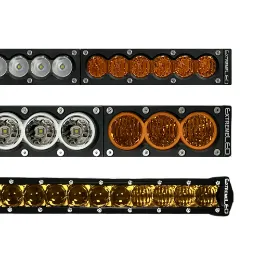
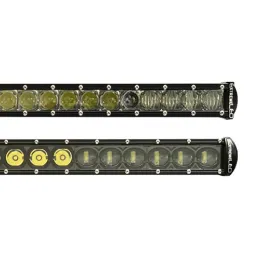
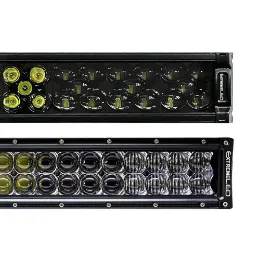
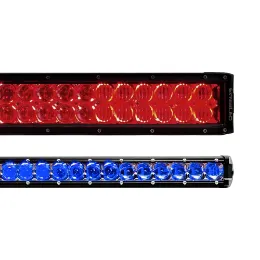
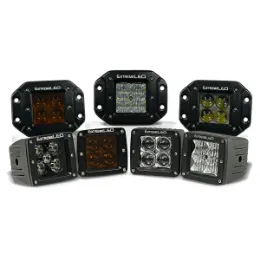
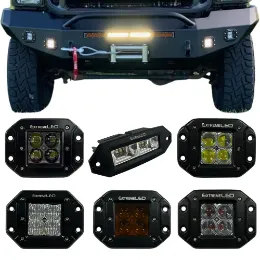
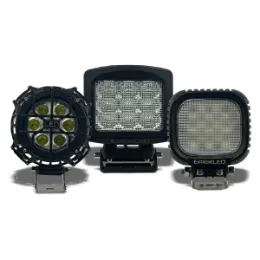
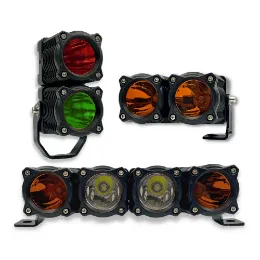
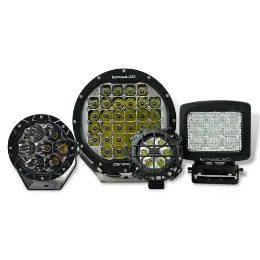
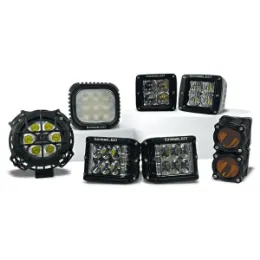
• Range of Products Available: Extreme LED Light Bars offers a wide range of amber light bars to suit different applications and budgets. We have an extensive collection of amber lights, including straight and curved light bars, mini light bars, strobe lights, and more.
• Positive Customer Reviews and Testimonials: We have received numerous positive reviews and testimonials from satisfied customers who have used our products for their vehicles.
• Installation and Customer Support: Our LED Light Bars are very easy to install. You don’t need to cut wires as we have a plug and play connectors. We also provide comprehensive installation instructions, and our customer support team is always available to assist you with any queries you may have.
The Bottom Line
Installing amber lights on your vehicle is a great way to enhance visibility and safety in low-light and hazardous conditions. With the right tools and equipment, it is a relatively simple process that can be done in a few steps. Extreme LED Light Bars is a top choice for quality and value when it comes to amber light bars, offering a range of products to suit different applications and budgets. By choosing Extreme LED Light Bars, you can rest assured that you are getting a high-quality product that will provide long-lasting, high-performance lighting for your vehicle. If you need more information about our amber light bars or have any questions about installation, feel free to reach out to us anytime.
![]()
Meet the Author: Extreme LED has been helping offroad enthusiasts with their LED lighting needs since 2011. We have built our company to provide you with the best experience from shopping to customer support and ultimately use and longevity of our products. Our high-performance LED Light Bars & Pods are covered by our Lifetime Warranty and with free shipping over $100, you can rest assured that you are getting a high-quality product that will provide long-lasting lighting for your vehicle.