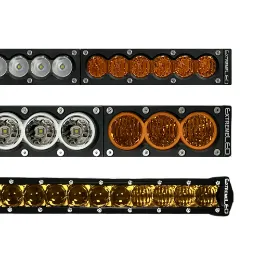
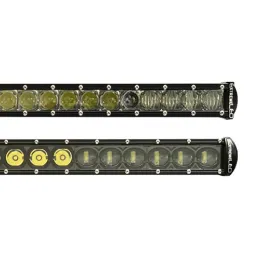
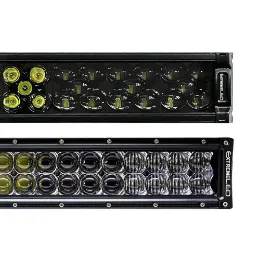
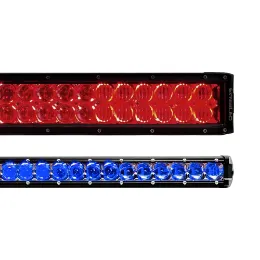
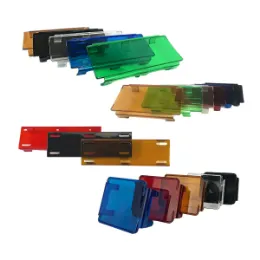
Extreme LED's single row combo beam light bars are the best slim light bars to add to any vehicle due to their low profile height of just 1-5/8 inch tall, providing bright illumination without the height of a dual row light bar. These single row light bars are able to fit in smaller spaces like behind the grille or in the bumper.
In this blog, expert installer Nick shares how to install a 30 inch Extreme Single Row 150W Combo Beam LED Light Bar
Extreme LED Single Series 30" Light Bar Install Video
Extreme LED Q&A with Nick @QuickSendTacos
Meet Nick! Nick is dedicated to documenting his Toyota Tacoma adventures through vlogs/shorts, modifications/installations, and walk arounds. Nick is also a brand Ambassador for Extreme LED and has some killer install videos of our products. Nick's content can be found on Instagram and YouTube: QuickSendTaco.

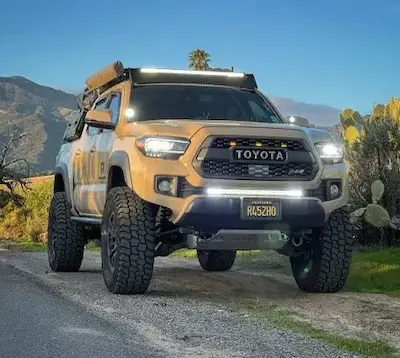
Q: Nick, what model Tacoma do you have and how long have you been working on it?
A: I drive a 2019 Quicksand Tacoma TRD Off-Road and I drove it off the lot Christmas Eve 2018, never looking back. That to say it's been a work in progress for the better half of five years now.
Q: What products are you repping for Extreme LED?
A: Currently, I am running the 30 inch Extreme Single Row Combo Beam in the lower Grill on the 3rd Gen Tacoma, a 40 inch Extreme Single Row mounted on the Sherpa Grand Teton roof rack, and a pair of the new Stackerz in a spread pattern. Also for those who will likely ask they are all white light output, no amber at the moment.
Q: For the 30 inch Extreme Single Row Combo Beam bar, how long did that install?
A: It's hard to tell, I am very comfortable with most DIY installs but filming while working is a new element for me. I think with filming, this install took me about 2-3 hours, had I not been filming I'm confident this would have been a sub 2 hours job for me. That said, and you may hear me say this in some of my videos, the most important part that I emphasize in my videos is not to focus on how long it takes but on doing it carefully. This is especially important when installing lights wiring is something you do not want to get wrong.
Q: What was the hardest part of the install?
A: The hardest part for me on any install involving wiring is getting the harnesses through the firewall. If you are like me there are a couple of wires already fed through and the more you add, the harder it gets and the more high stakes the install becomes. Aside from that, it would probably be getting the light bar mounted onto the mounts you chose to use. Maneuvering through areas of the bumper where you don't have a line of sight to the hardware it is tricky. I definitely recommend a headlamp or flashlight or any kind of magnetic tools while doing that part so you don't lose any bolts.
Q: What advice do you have for this install?
A: Best advice I can give is read up on how you want the install to look, get the measurements right the first time and be sure you plan you install within daylight hours; I think this only applies to people without garages like me. Other than that, I think one thing that is often overlooked is to ask questions, reach out to Extreme LED, it's not just an automated system, they will respond and give you the 1-1 support that you are looking for.
Q: Finally, what prompted you to create all this content?
A: Great question. My main goal is to create great videos that are no BS; there are way too many people who sadly harbor info and secrets they discover and use them as leverage, when as a community I feel the best thing we can do is share the truth about all the different products and experiences we go through.
Thanks, Nick! Your dedication to your build and the quality of your work is truly impressive!
Instructions for the Single Row Light Bar Installation Process
Before you begin the installation process, it is imperative to test the lights first to make sure if they work. Once you've tested the light bar and know it is working, it's time to get your tools.
The Required Equipment and Tools
Before you start the installation process, you will need the following equipment and tools:
- Light bar
- Mounting brackets
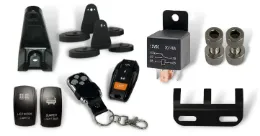
- Wiring harness
- Screwdriver
- Zip ties
- Wrench
Step 1: Inspect your package
First, inspect your package for any damage from shipping. Some important things to look for include dents/dings, broken connector pieces, or hardware that has come loose during shipping. If everything is in order, connect the lightbar to your battery (red to positive, black to negative) and test the lightbar. This will give you an understanding of how everything works and a chance to see your lightbar in action before getting into the installation details. After testing your lightbar, make sure you disconnect it from your battery prior to installation or you might ground it out.
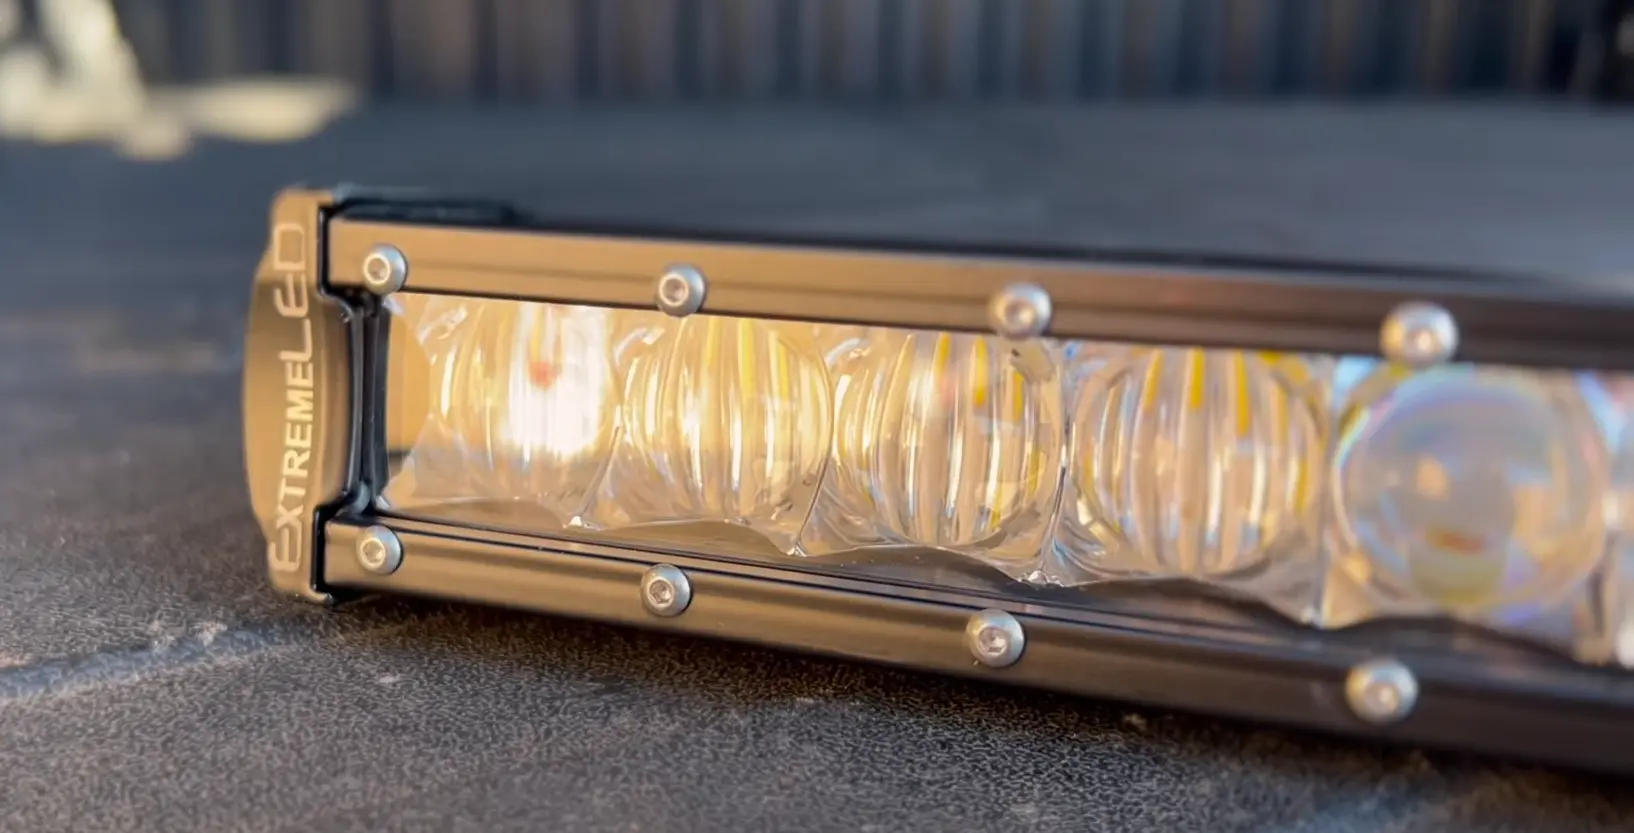
Step 2: Choose The Location For Your Single Row Combo Light Bar
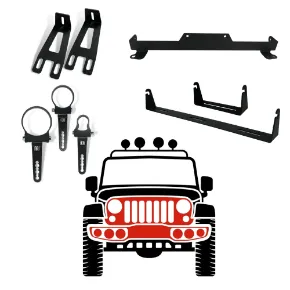
Identify your mounting point and procedure. Our lightbars come with universal brackets that can be used for mounting your lightbar. Typically, the universal brackets will require drilling holes to mount the bracket to your vehicle. If you prefer not to drill any holes for your installation, there are many custom fit bumpers, roof racks, and brackets in the market for your specific vehicle type. Extreme LED offers a lot of different mounting options.
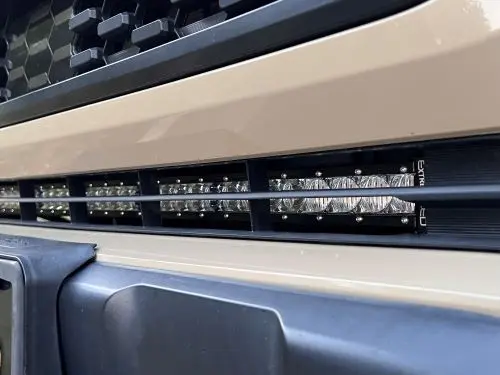
Step 3: Install The Mounting Brackets
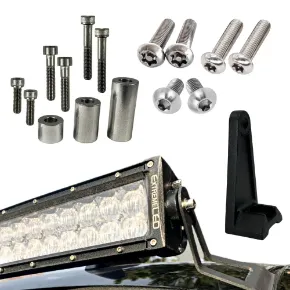
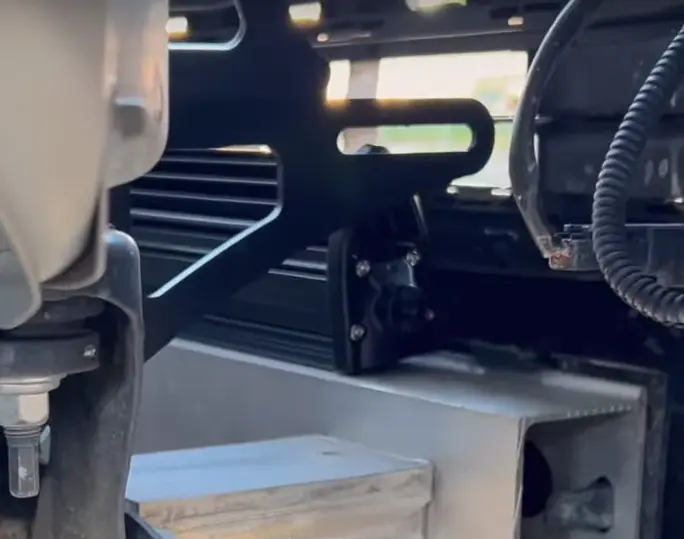
Once you have decided on the location for your LED light bar and identified where you will install the 30" inch Extreme Single Row Combo Beam bar, the next step is to attach the mounting bracket. If the selected location does not already have pre-existing holes, place the light bar in the chosen area and mark the drilling points accurately. Use a drill and suitable drill bits to create the required mounting holes. Finally, secure the brackets in place using the provided mounting hardware that comes with the light bar.
Step 4: Install The Wiring Harness
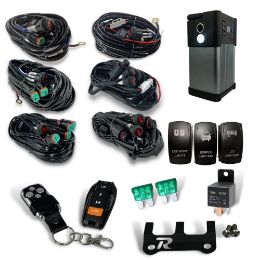
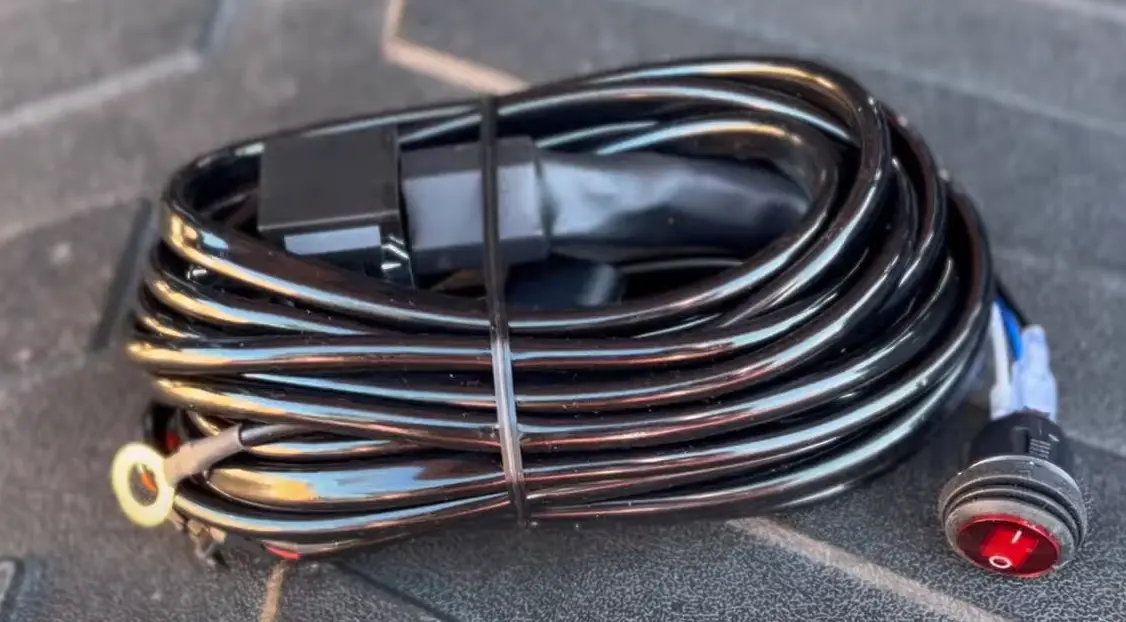
See the diagram below of our wiring harness to get a better understanding of the basic components to install the wiring harness. At one end of the wire harness, you will find one relay that regulates the switching and power for the lightbar. There are 3 ends to the wire harness. There are 3 ends to the wire harness
- The switch end has a 3 pin quick-disconnect that allows you to add a wireless remote (if you have a wireless remote, it plugs in between the switch and the relay)
- The lightbar connector has a 2 pin connector. One pin provides power (red) to the lights and the other pin provides a negative back to the battery (black). ** NOTE: If you are using a different switching/power mechanism than our harness, you can cut the wires on this end (instead of cutting the wires on the light).
- The battery end has red (+) and black (-) ring terminals to connect to the battery. The red terminal has a waterproof fuse holder to protect the lightbar.
Before installing the electrical, make sure your harness is not connected to the battery.
- Start by running the switch end through your firewall into the inside of your vehicle. In many cases, you can find a rubber gasket to put these through or you may need to drill a hole. You can disconnect and then reconnect the switches using the quick disconnect to reduce the size of the hole required.
- Run the lightbar connector at the install point of the vehicle and connect the lightbar to the harness. The rubber gasket on the end of the 3 prong connector forms a waterproof fit.
- Connect the harness to the negative battery post and then the positive battery post. If you have a relay holder, install it by using factory holes or drilling spots for the rivets. Zip ties or electrical tape can be used to tidy up any dangling wires to prevent damage and make your installation look better.
Step 5: Connect The Rocker Switches or Switch
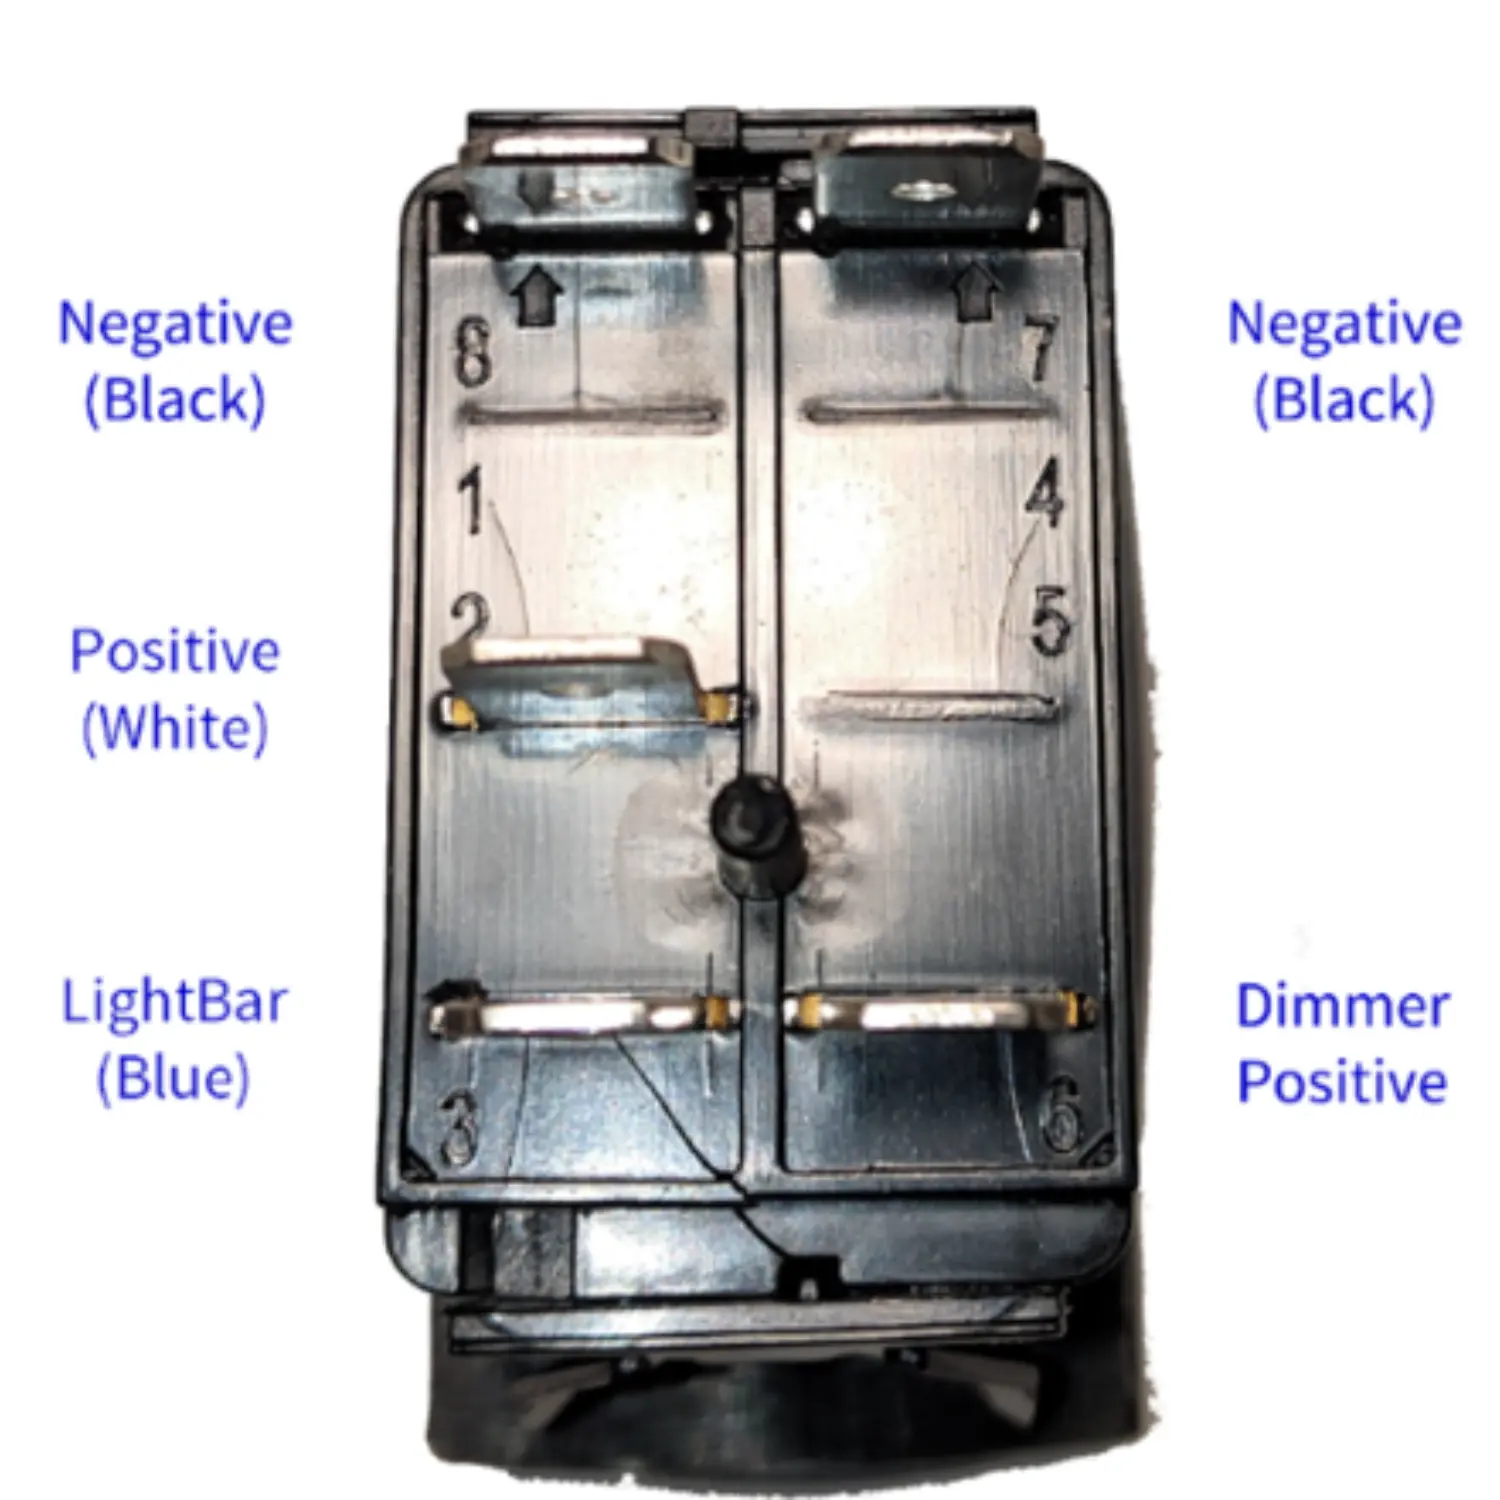
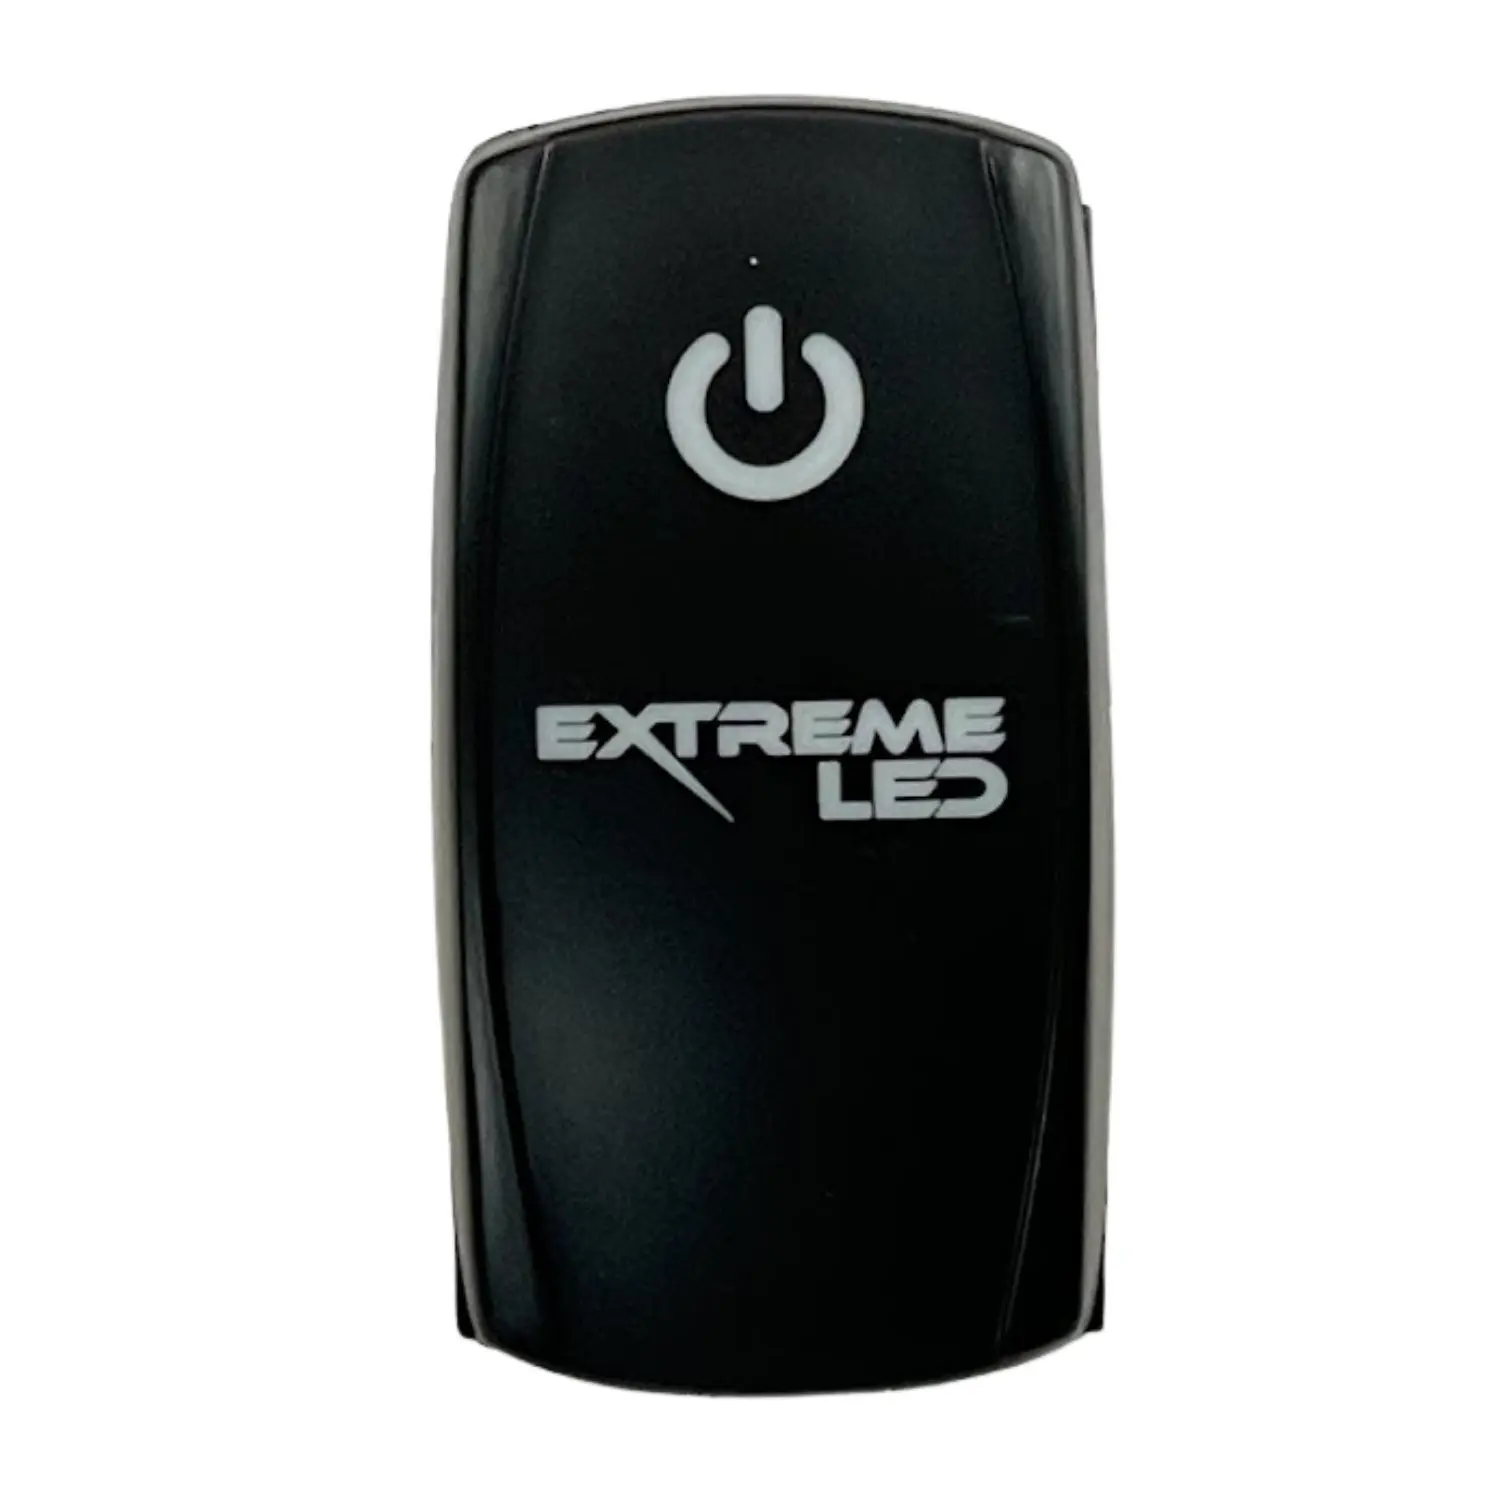
If you have a rocker switch, then connect the rocker switch by using the wires connected to a factory-installed switch. Mount it in a location that is easy to reach. This will allow you to turn your lightbar on and off as needed. The Extreme LED rocker switch is great if you ant to wire in your rocker switch with your dash dimmer.
Step 6: Hit the Lights and Enjoy the Ride!
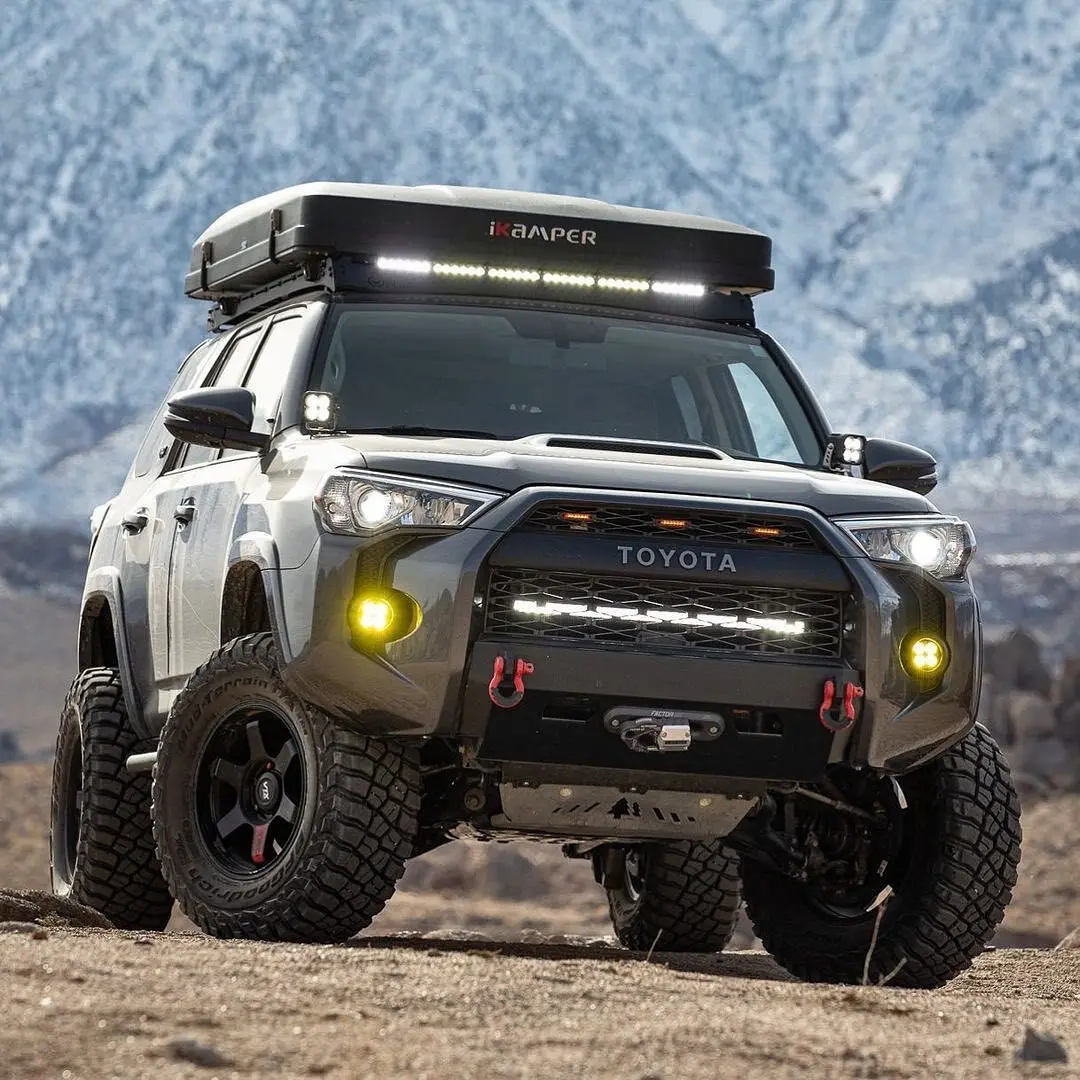
Best step of all. Congratulations! You have installed your bar, and it looks awesome! Now go enjoy the ride.
Tips for Proper Installation
- Choose the right location for your light bar based on your needs and the intended use of the lights.
- Make sure to install the mounting brackets securely to prevent the light bar from coming loose or falling off.
- Check the wiring and connections regularly to ensure that everything is working properly and there are no loose or damaged wires.
Why Choose Extreme LED Light Bars?
Extreme LED Light Bars are the best in class when it comes to value for money and quality of LED light bars. Here are some of the reasons why:
- Quality and Durability: Our amber lights are built to last. They are made of high-quality materials and designed to withstand harsh weather conditions and rough terrain.
- Range of Products Available: Extreme LED Light Bars offers a wide range of amber and white light bars to suit different applications and budgets. We have an extensive collection of amber and white lights, including straight and curved light bars, mini light bars, strobe lights, and more.
- Positive Customer Reviews and Testimonials: We have received numerous positive reviews and testimonials from satisfied customers who have used our products for their vehicles.
- Installation and Customer Support: Our LED Light Bars are very easy to install. You don’t need to cut wires as we have a plug and play connectors. We also provide comprehensive installation instructions, and our customer support team is always available to assist you with any queries you may have.
The Bottom Line
With the right tools and equipment (and this video to help!), it is a relatively simple process to install a 30" Extreme Single Row 150W Combo Beam LED Light Bar. Extreme LED Light Bars is a top choice for quality and value when it comes to light bars, offering a range of products to suit different applications and budgets. By choosing Extreme LED Light Bars, you are getting a high-quality product that will provide long-lasting, high-performance lighting for your vehicle.
If you need more information about our single row combo beams or have any questions about installation, feel free to contact us anytime.

Meet the Author: Extreme LED has been helping off-road enthusiasts with their LED lighting needs since 2011. We have built our company to provide you with the best experience from shopping to customer support and ultimately use and longevity of our products. Our high-performance LED Light Bars & Pods are covered by our Lifetime Warranty and with free shipping over $100, you can rest assured that you are getting a high-quality product that will provide long-lasting lighting for your vehicle.


