high performance best value High Performance Best Value
free shipping Free Shipping
lifetime warranty Lifetime Warranty
 
Close
You have no items in your shopping cart.
Search
RSS

Blog posts of '2015' 'January'

How to Choose the Right LED Light
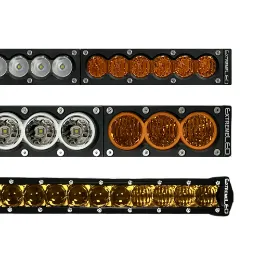
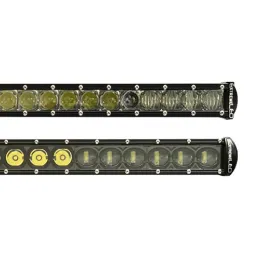
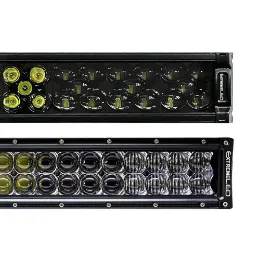
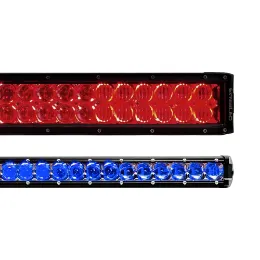
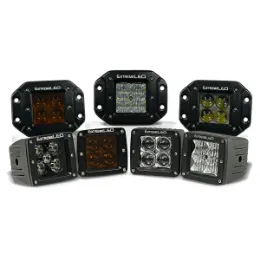
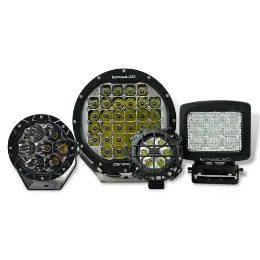
Spot, Flood, or Combo?

A question we get a lot is, "What beam pattern for my LED Light Bar should I get?". Well here is a little insight that we hope will help in making your decision.

Spot

Spot light beam pattern

  • A spot beam has a narrow beam spread of only 8º. This is great for task specific lighting. For example when you want night time road or trail visibility you want the light focused and intense in a specific area. The spot pattern is great for that.

Flood

Flood light beam pattern

  • Flood has a wide 90º beam pattern so the light is more spread out. When you want to more light up a certain area, like your camp site, or a work area, the flood is the right choice.

Combo

Combo light beam pattern

  • When you want versatility, the Combo is a good choice. It gives a mix of spot beam pattern LEDs and flood beam pattern LEDs all within the same light. The trade off is that you are not splitting up the beams so neither the flood nor the spot beams produced are as bright as a dedicated spot or beam light.

The Best?

Well that all depends on your specific situation and budget. If you can afford it, a great combination to have is a dedicate spot coupled with a dedicated flood. For example, it is typical for us to outfit a Jeep Wrangler with a 20" spot LED light bar mounted on the bumper which is used for road/trail visibility. Then have a either a couple of 6" flood LED light bars mounted at the lower corners of the windshield or a really nice set up is a 40" LED light bar mounted across the top of the windshield.

How to Choose an LED Light Bar or Pod Mounting Location

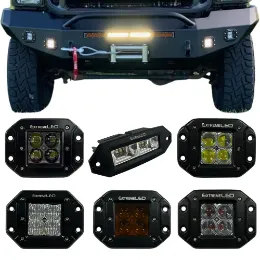
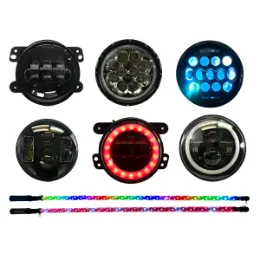
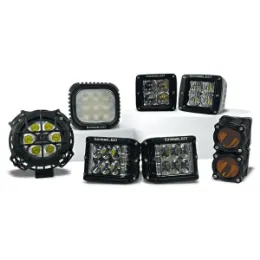
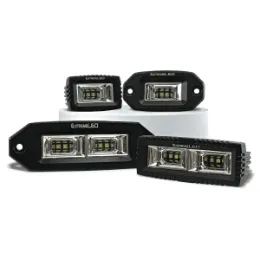
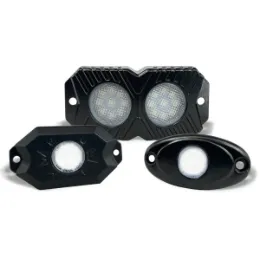
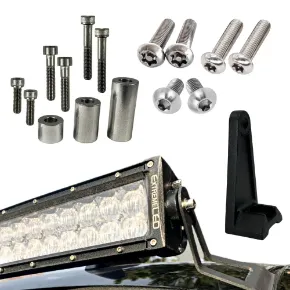
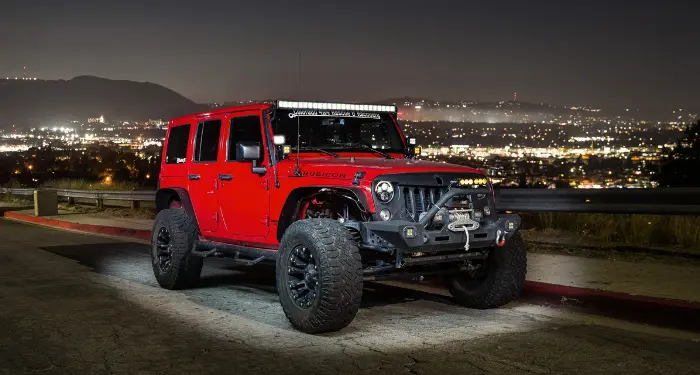
Determining the perfect location to mount your new LED Light Bar or Pod(s) is based on many factors: budget, technical abilities, intended lighting use, and finally, personal preference. See our picture gallery below to preview some of these lighting locations.

Some locations are easier to mount and wire than others. Here is a list of locations that we will review, in order of those that are easiest to mount first:

  • Front Bumper

The easiest location to mount your LED light bar is typically on the front bumper. Often there are already holes in the bumper so purchasing additional mounting hardware is not required. Even if there are not existing holes that will work for your mount location, drilling a bumper is a quick and easy job so you can mount your new light exactly where you want it. From the bumper, it is also a snap to get the wiring to inside the engine compartment.

The mounting flexibility of the bumper also makes it suitable for just about any LED light. For example, You could place a 30" LED light bar or two 5" LED Light Pods on the front bumper. 

The cons of the bumper is that the light direction is coming from the same direction as your stock headlights. Though this isn't a huge downside, you won't get the advantage of lighting your way from multiple light angles, which often provides overall better visibility than just one angle.

  • Lower Windshield Pillar Mount

The lower windshield pillar mount is a great place to mount a pair of our LED Light Pods and offers a greater amount of light angle differentiation from your stock headlights than the bumper mount location, increasing visibility. This location does require additional mounting hardware, such as our JK pillar mount or TJ pillar mounts, but they are pretty economical in price and simply bolt on using the existing mounting holes on your Jeep (no drilling required). 

Wiring from the pillar mount location requires some drilling, but it is pretty straight forward and can be easily filled with a cheap plug  that you can get at Ace Hardware, Lowe's or the like, in the unlikely event you decide to remove your lights at some point in the future.

  • Above the Windshield

This location is excellent for allowing you to have the greatest amount of light angle differentiation from the headlights, providing for the best overall visibility. It also has the room to use the largest of LED light bars, like our 50" LED light bar, giving you the most amount of lumens of light than the other locations. This location does require you to purchase additional mounting hardware, and wiring will require some drilling, but if getting the maximum amount of quality light is your goal, than this is the ideal location. Plus, it adds a certain "bad-ass" look that you might be going for :)

  • A Combination

Now no one says you have to pick just one! You can combine any of these locations to give you even more light and mean aesthetics. So go ahead, pick your poison!


LED Light Bars vs Stock Headlights Demonstration

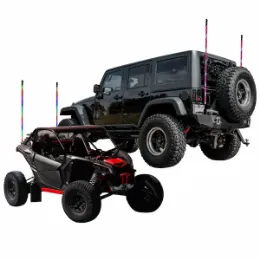
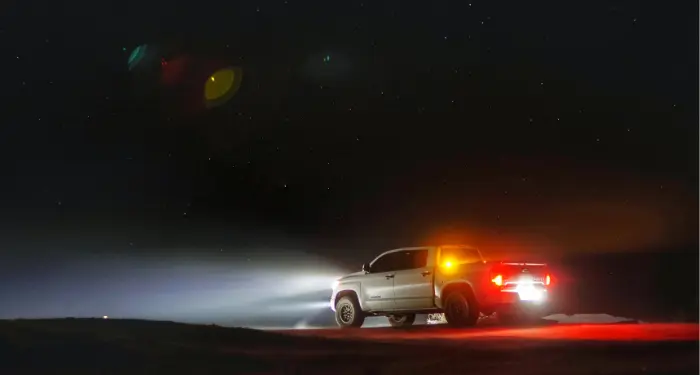
This is a video demonstration comparing the stock headlights on our Jeep Wrangler with our F1 - 22" Led Light Bar and our F1 - 50" LED Light Bar. Spoiler alert: The difference is quite extraordinary.

How to Wire a Relay for Off-Road LED Lights

A common question we get is, "What is the relay for and how do I wire it up?" So here is an overview of what a relay is, why you likely need it, and how to connect it.


What is a Relay?

  • A relay is an electrical switch. It allows a low current "switch" circuit to control the electricity flow of a high-current circuit load, like your LED Light bar for example.

Why Do I Need A Relay?

  • When you create a circuit (a loop of electricity from the battery to your LED Light bar), if you just put a switch between the battery and the light, it will have to be rated for the full current (amp draw) of the light. Our lowest amp draw LED light pod has an amp draw of about 1.4 amps. Many switches would be able to handle that...but if you are using, say our 50" LED Light bar, that has an amp draw of about 17.2 amps, which may be too much for that little switch to handle. As a result, you could end up overheating the switch, melting the wires, and reducing the current that is getting to your lights, making them not as bright.

Check our our selection of LED Light Bars

Another reason you may want a relay is for the creative ways you can use electrical currents from things other than a physical switch. Let's say you want have your LED Light Bar come on with your high beams, or reverse lights, for example. Read more about that below. 

How to Wire your LED Light Bar Using a Relay

  • The relay will have 4 prongs on it, marked 30, 87, 85 and 86. Kind of cryptic isn't it. Well if you are just going to use our wiring harness, and switch, you don't need to know what any of this is, because it comes all pre-wired and plugged in together. 

Buy a Wiring Harness

wiring harnesses and accessories

But if you want to use some sort of electrical current to activate your LED lightbar, like make them come on when you turn your high beams on, or your reverse lights on (if you are adding LED backup lights), then you'll need to do a bit of rework. 

First, let's explain the what these 30, 85, 86, 87 numbers are. Let's start with a picture:

relay wiring diagram explained

30 and 87 create the switch to your LED lights. By default this switch is open, so current cannot get from the battery to your lights.

30 - is your power source for your LED lightbar. It connects to the positive (+) side of your battery or to a switched power source that only gets power when your ignition is on.
87 - goes to the positive side of your LED lights.

85 and 86 use electrical current to create a magnetic force, which then closes the 30 to 87 switch and allows the electricity to flow to your lights. Without this current, no magnetic force is created, so the 30 to 87 switch stays open, and your lights stay off.

85 - connect to the power source that you want controlling the switch. For example you could splice a wire off your high beam wire or off your backup light wire
86 - connect to a ground.

(Note: 85 and 86 can be reversed, but our harnesses have them setup this way).

"What if I don't always want my LED Light to come on with my high beams or backup lights?"

Good question! So you'd want another switch on your dash that you turn off and on. When it is off, and you put your high beams on, your LED light will still be off and vice versa. In this case, you need to wire the dash switch in between the trigger current, i.e. the line you spliced off your high beam wire or your backup light wire. 

With our wiring harness, all you need to do is cut the wire coming from the switch to the 30 prong on the relay, and wire it to your high beam lead or your backup light wire. That way, when you do have your high beams on, the current from that goes to the dash switch first, and if that is off, the electricity can't get to the 85/86 circuit to create the magnetic force to close the 30/87 circuit, which turns on your LED lights.

Still Have Questions?

No problem, we are here to help, send us an email or give us a call.